There’s nothing quite like opening your favourite cookbook, large glass of Shiraz in hand, knowing that you already have all the herbs you need in order to prepare a delicious meal within the sanctuary of your own home. Such is the beauty of growing your very own indoor herb garden, which is simple, satisfying and easy to nurture throughout the seasons – not to mention delicious (and cheap, too!) So, without further ado, here's my seven-step guide to creating the perfect herb garden...
1) Let There Be Light
A sunny kitchen windowsill the ideal place for your indoor herb garden. Make sure it gets at least five hours of sun a day, as lack of sunshine will leave you with stressed plants that lose their flavour. If you don’t have a windowsill, look for other spaces in your house that also get a lot of sunshine. Remember, you can always use macramé hangers if you’ve got little space.
2) Is it Hot in Here?
Indoor herbs like the same temperatures that most people do – so if you’re happy, they probably are too. These guys aren’t too fussed about the temperature dropping at night either, just make sure the foliage doesn’t touch glass to protect them from getting chilly.
3) Choose Your Herbs Wisely
When it comes to selecting herbs, follow your palate. I take my inspiration from my Italian grandparents, so basil, sage, and parsley are a must. Chives make everything taste better and have you ever ruffled a bushy thyme only to have the whole room smelling sweet five seconds later? Bliss. Herbs can be divided into hard and soft. Soft herbs – basil, chives, mint – are delicate, so they need a little more care and attention. Hard herbs – thyme, rosemary, sage – are a little more resilient to less water and light.

4) Pick Your Pots
Open the cupboard and look at your plates, if you’re matchy-matchy you might want something sleek and uniform, or if you’ve got more of a mismatched thing going on, try combining different pieces to create variety. eBay, charity shops and car boot sales are great places to look, just make sure the pots are porous and have good drainage. You will also need a saucer under the pot to catch water and protect your surface – again, look for the pieces that match your personality.
5) Pot Your Herbs
Start with something to help drainage (perhaps smash up that chipped plate that’s been bugging you and use a few pieces!), place a small mound of potting soil in the pot for your plant to sit on and water thoroughly. Now carefully remove the herb from its original pot and gently loosen the roots with your fingers. Place the herb into the soil and check it from all sides to make sure it’s centered and sitting up tall and straight! Add potting soil around the herb, pressing it down with your fingers until firm. Give it a big drink to help it settle down.
6) Time for a drink?
If the surface of the soil feels dry, you need to water it. Give them a good drink until water fills into the saucer, but be careful not to overwater – herbs don’t like to sit around in wet soil. For extra tasty herbs, feed your plants once a month with an organic fertilizer.
7) And voila! Dinner is served
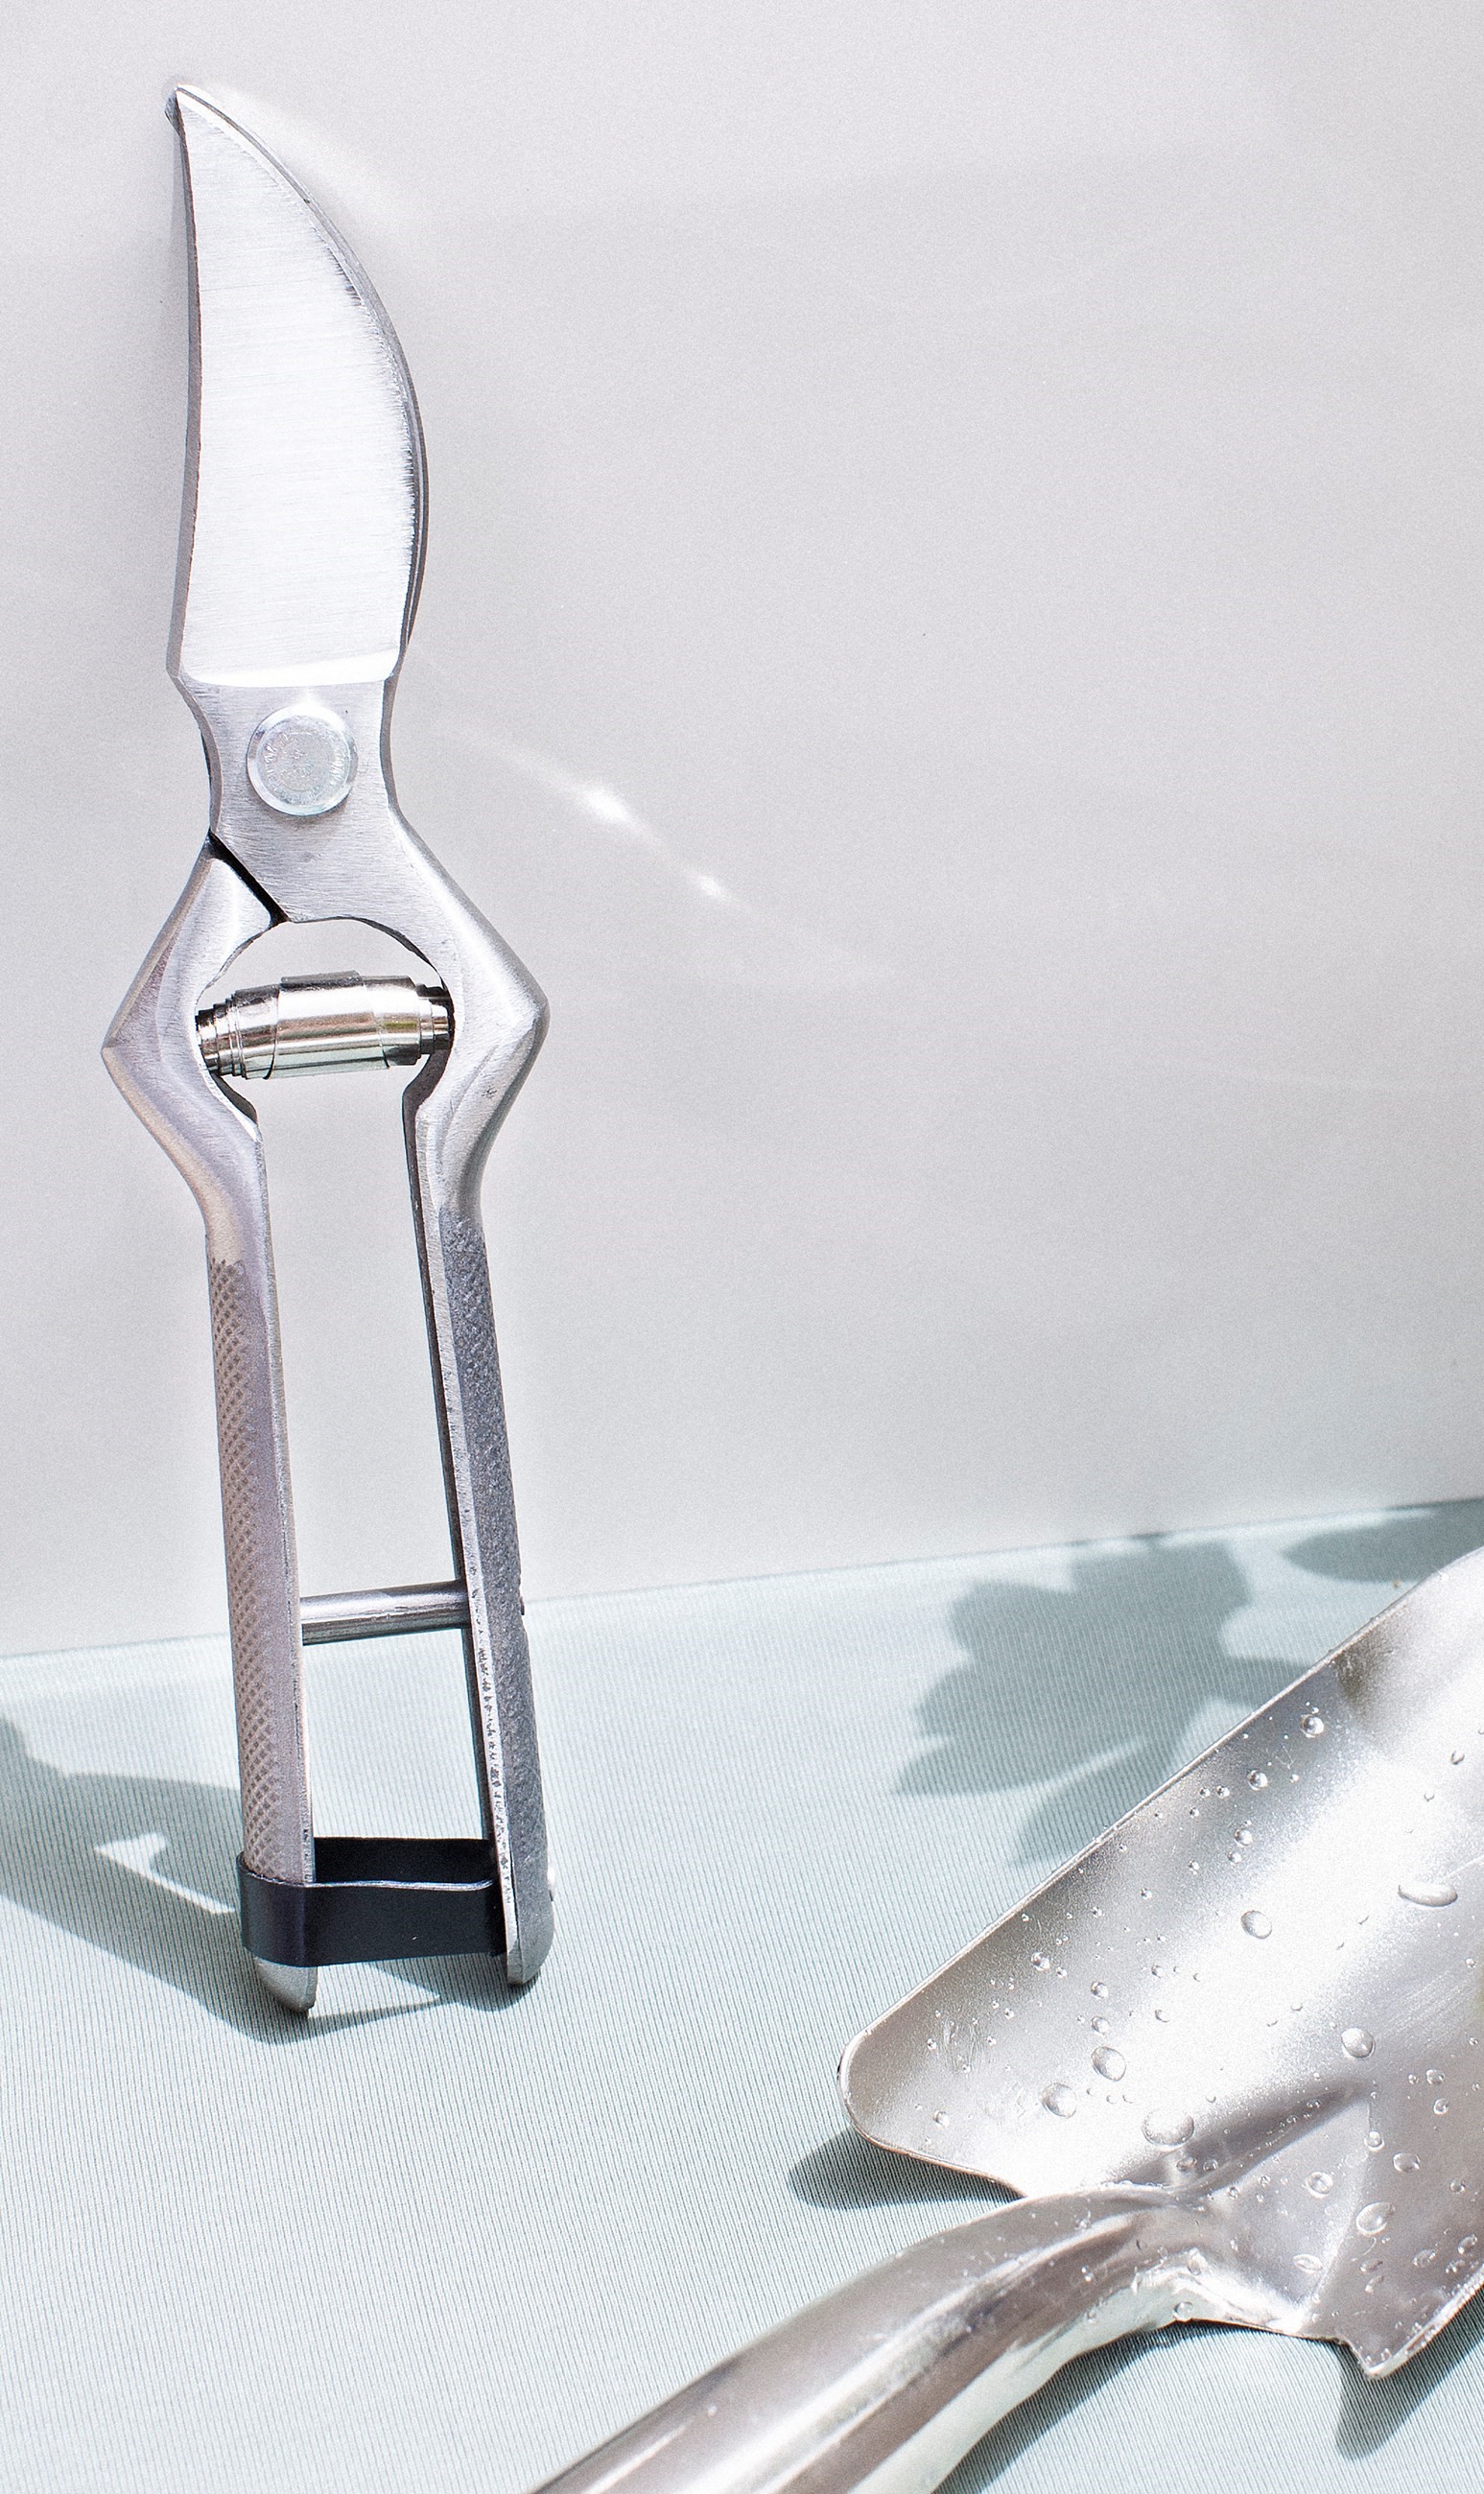
Once your plants are up to six inches long, snip away! Don’t be shy, the more you use the bushier they’ll become. Try not to trim more than a third of the plant's foliage as it will get stressed. For tall herbs (think chives) snip two-to-three inches off the top. For more bushy herbs (think parsley) you can cut entire stems from the outside of the plant as new growth will fill it in.
